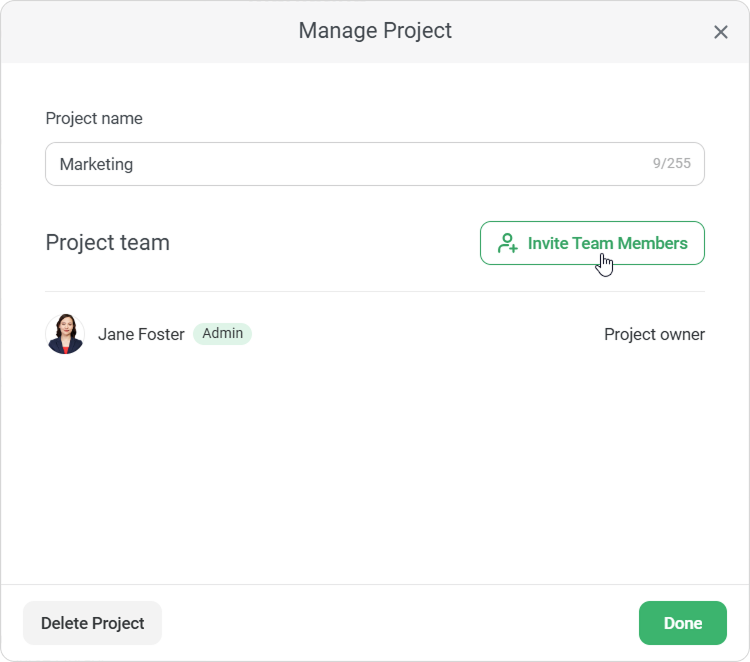
In the Manage Project window, click Invite Team Members.
In the Invite Team Members window select users you want to add.
Then choose their access level: Can view or Can edit, and click Add.
Access Level
Description
User Roles
Can view
The team member can:
View project content and information in the Manage Project window
Leave the project
Account Owner
Account Administrator
Course Author
Department Administrator
User with custom role enabled to view content items and enroll users in training
The Account Owner has access to all projects and content in the account. Administrators, Authors and users with custom role are given access only to those projects to which they are added.
Can edit
The team member can:
Create, rename, edit, move, and copy content items and courses within the project
Invite other team members to the project
Change access levels of other members
Account Owner
Account Administrator
Course Author
The Account Owner has access to all projects and content in the account. Administrators and Authors are given access only to those projects to which they are added.
*
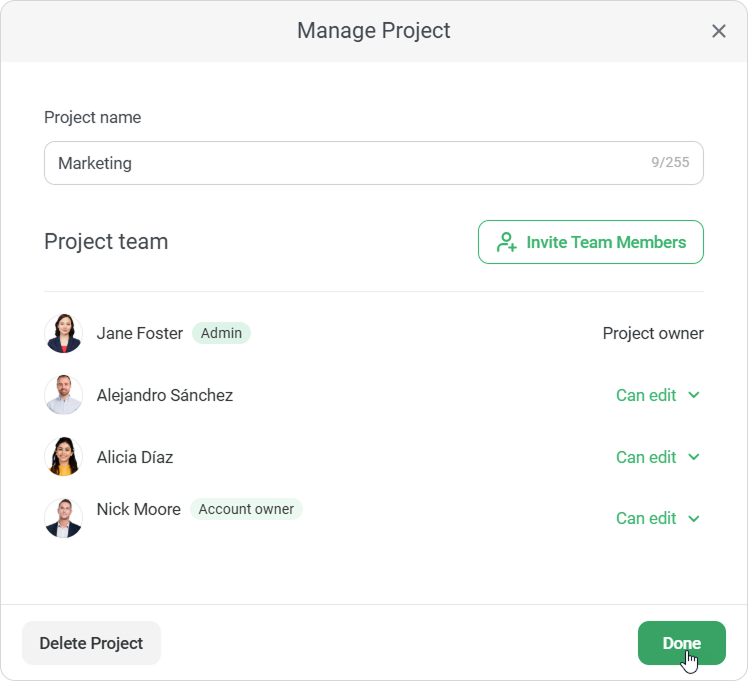
In the Manage Project window, review the list of team members. You can change a team member’s access level or remove them from the project if needed. When you finish, click Done.
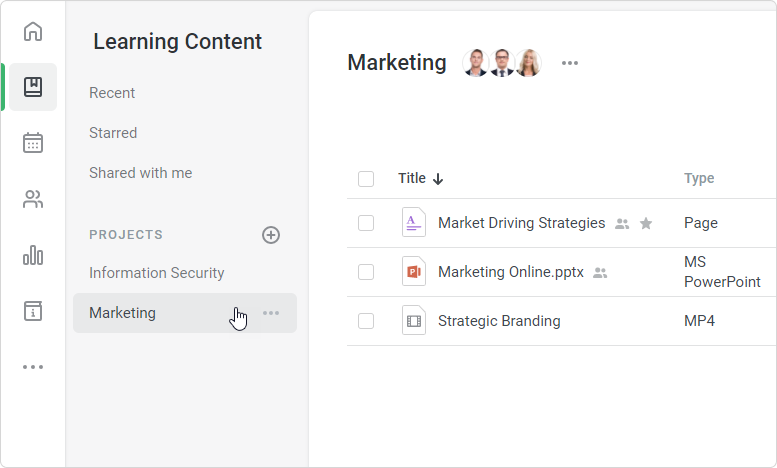
The team member that have been added will see the project in their accounts and, depending on their access level, will be able to view or edit its content.
Selected users' initials or their avatars will appear next to the project title.