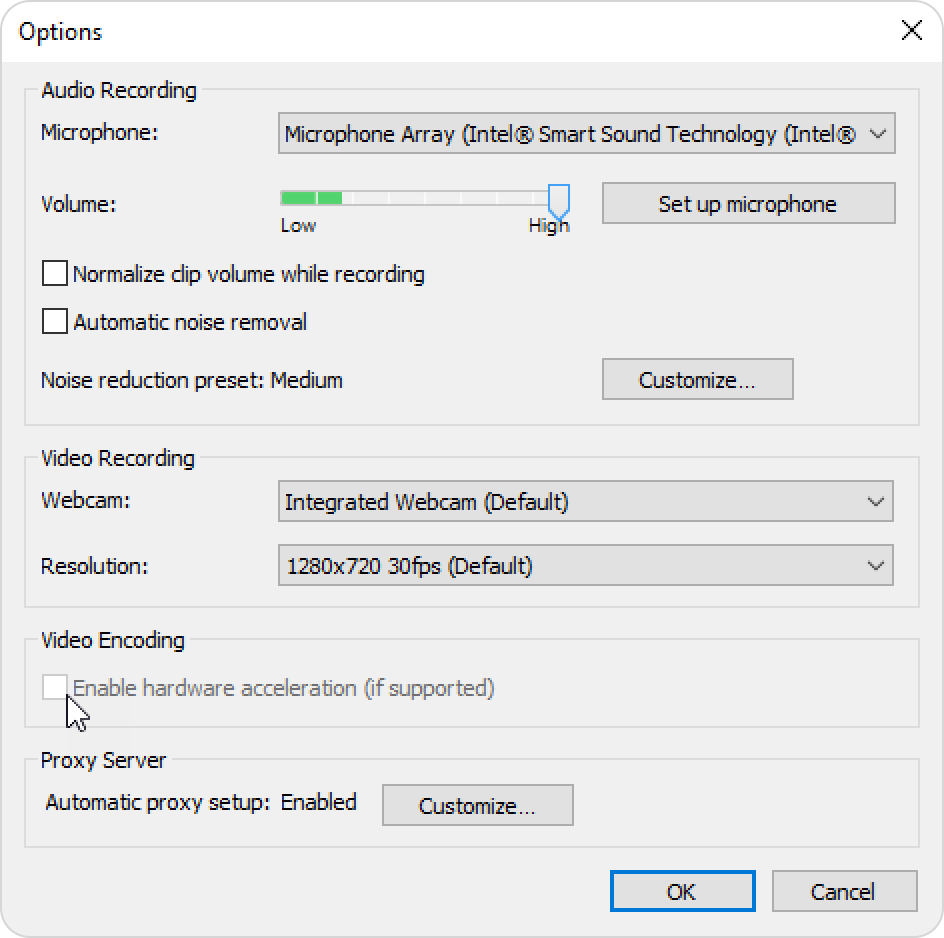
As a rule, most computers are equipped with only one audio and video recording device. However, if you use several such devices, you can choose which one to use in iSpring Suite.

To open the options of the narration editor:

  • Click the Options button in the application menu.


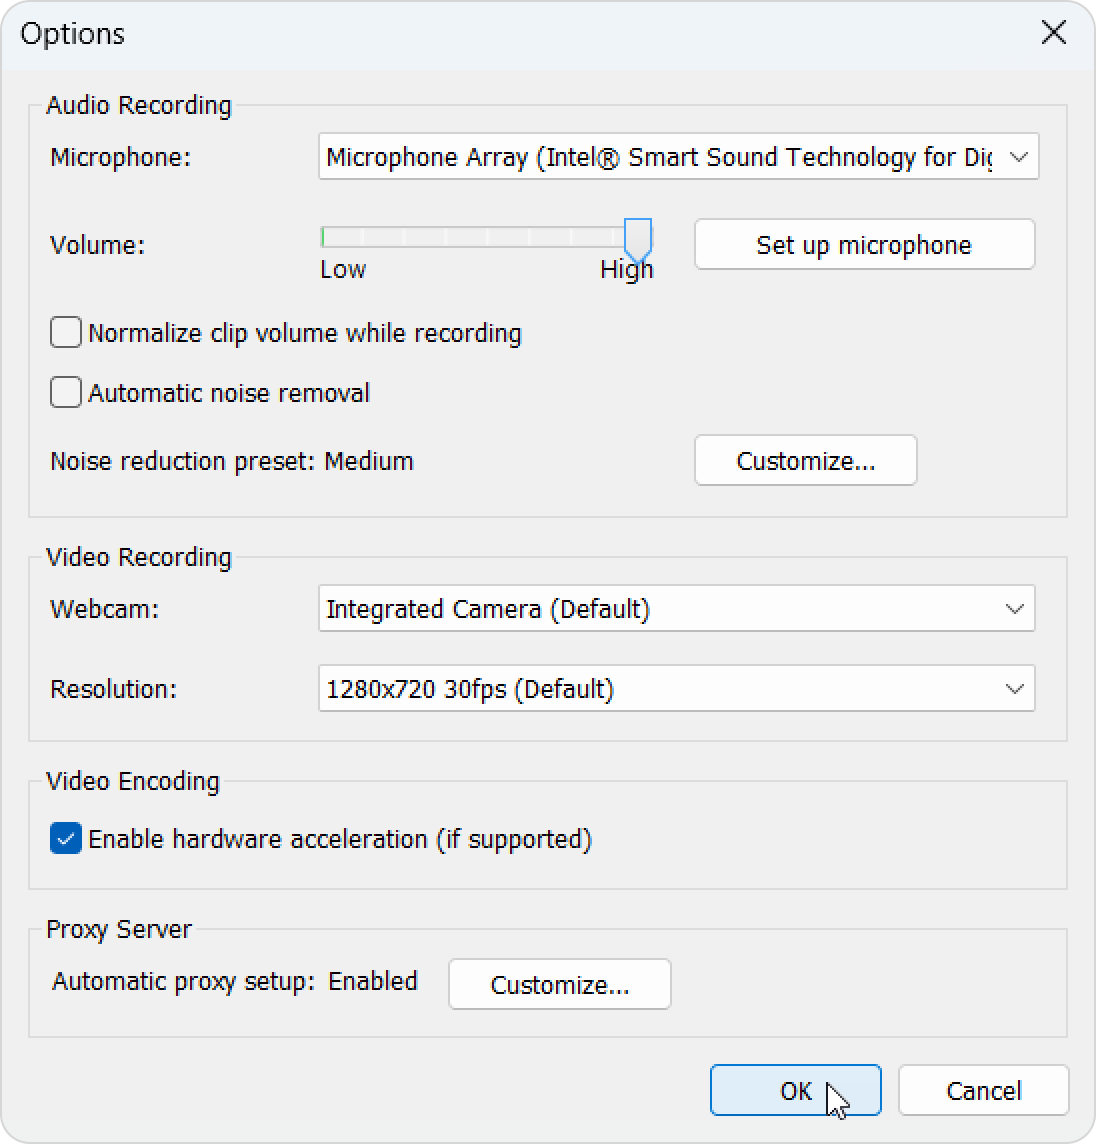
    In this window, you can select a device for audio and video recording.


    Тable 1. Narration Editor Settings


    Microphone

    Select the audio input device (microphone).

    VolumeSet the recording volume.
    Set up microphoneAdjust your microphone on the computer.
    Normalize clip volume while recordingKeeps the audio volume consistent throughout the recording.
    Automatic noise removalReduces background noise while recording.
    Noise reduction presetSet custom noise reduction settings.

    Webcam

    Select the video input device (webcam).

    Resolution

    Choose the video resolution.

    Video Encoding

    This setting enables hardware video encoding using Intel Quick Sync Video, a technology built into Intel processors.

    If your computer runs a 64-bit version of Windows and the processor supports Quick Sync, the program will use integrated graphics for encoding. This reduces CPU load and speeds up video processing in your presentation.

    The availability and performance of video encoding depend on your Intel processor generation. 

    If you experience issues during encoding, disable this option. The program will switch to software encoding.

    If your graphics hardware is not supported or uses custom GPU settings, video encoding will not be available.

    Proxy Server

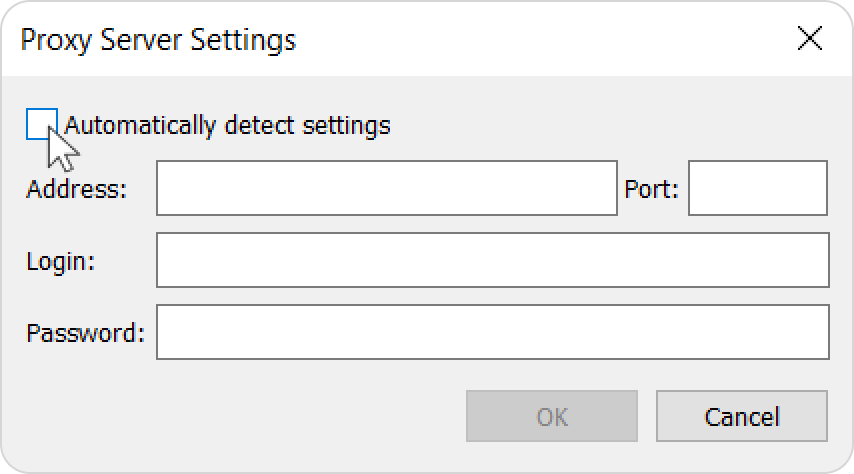
    Automatic proxy setup is enabled by default.

    Click Customize to set up a proxy server manually.

    Clear Automatically detect settings and enter the address, port, username, and password.


    Click OK to apply the settings.