How to Generate a Voiceover
Pick the right voice, set the pace, and make your course more engaging and accessible.
Good to know
Voiceover generation uses character limits:
- 200,000 characters per 30 days per account
- Up to 5,000 characters per generation
- Trial accounts: up to 10,000 characters
Each generation uses up your available characters.
iSpring Cloud AI and Suite AI share the same 200,000-character limit. If the account also includes iSpring LMS, its character balance is counted separately and does not affect the Cloud AI or Suite AI limits.
How to add a voiceover
There are two ways to generate a voiceover in a scrollable course.
Way 1. From the selected text
Use this when you already have text on the page. The audio will appear before the selected fragment. You can remove the text and keep only the audio.
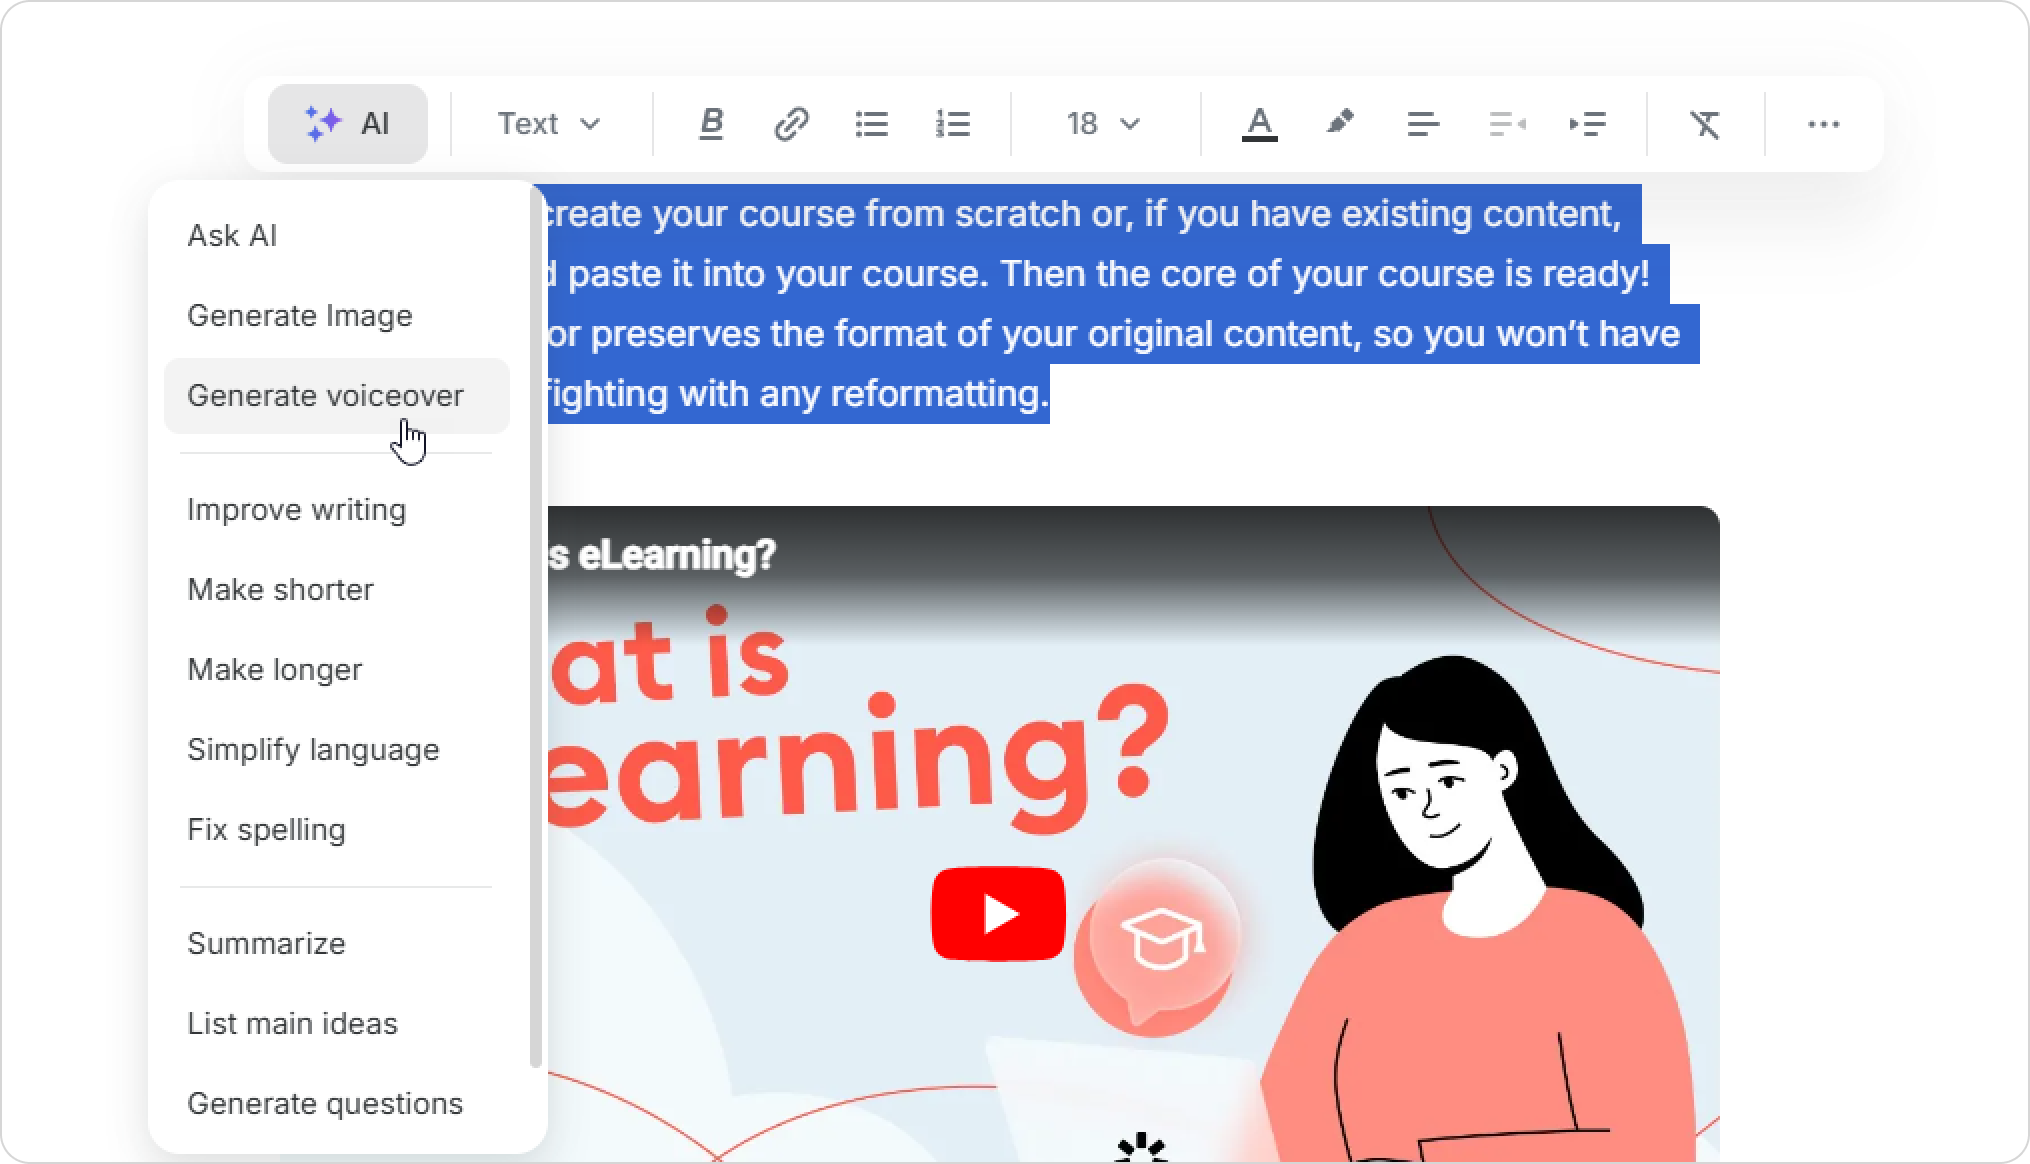
- Open a scrollable course and select the text.
- Click on AI > Generate voiceover.
- Edit the text or replace it if needed.
Way 2. From the toolbar
Use this when you want to create new audio content from scratch. For example, you can add an audio introduction or a listening activity that doesn’t exist on the page yet.
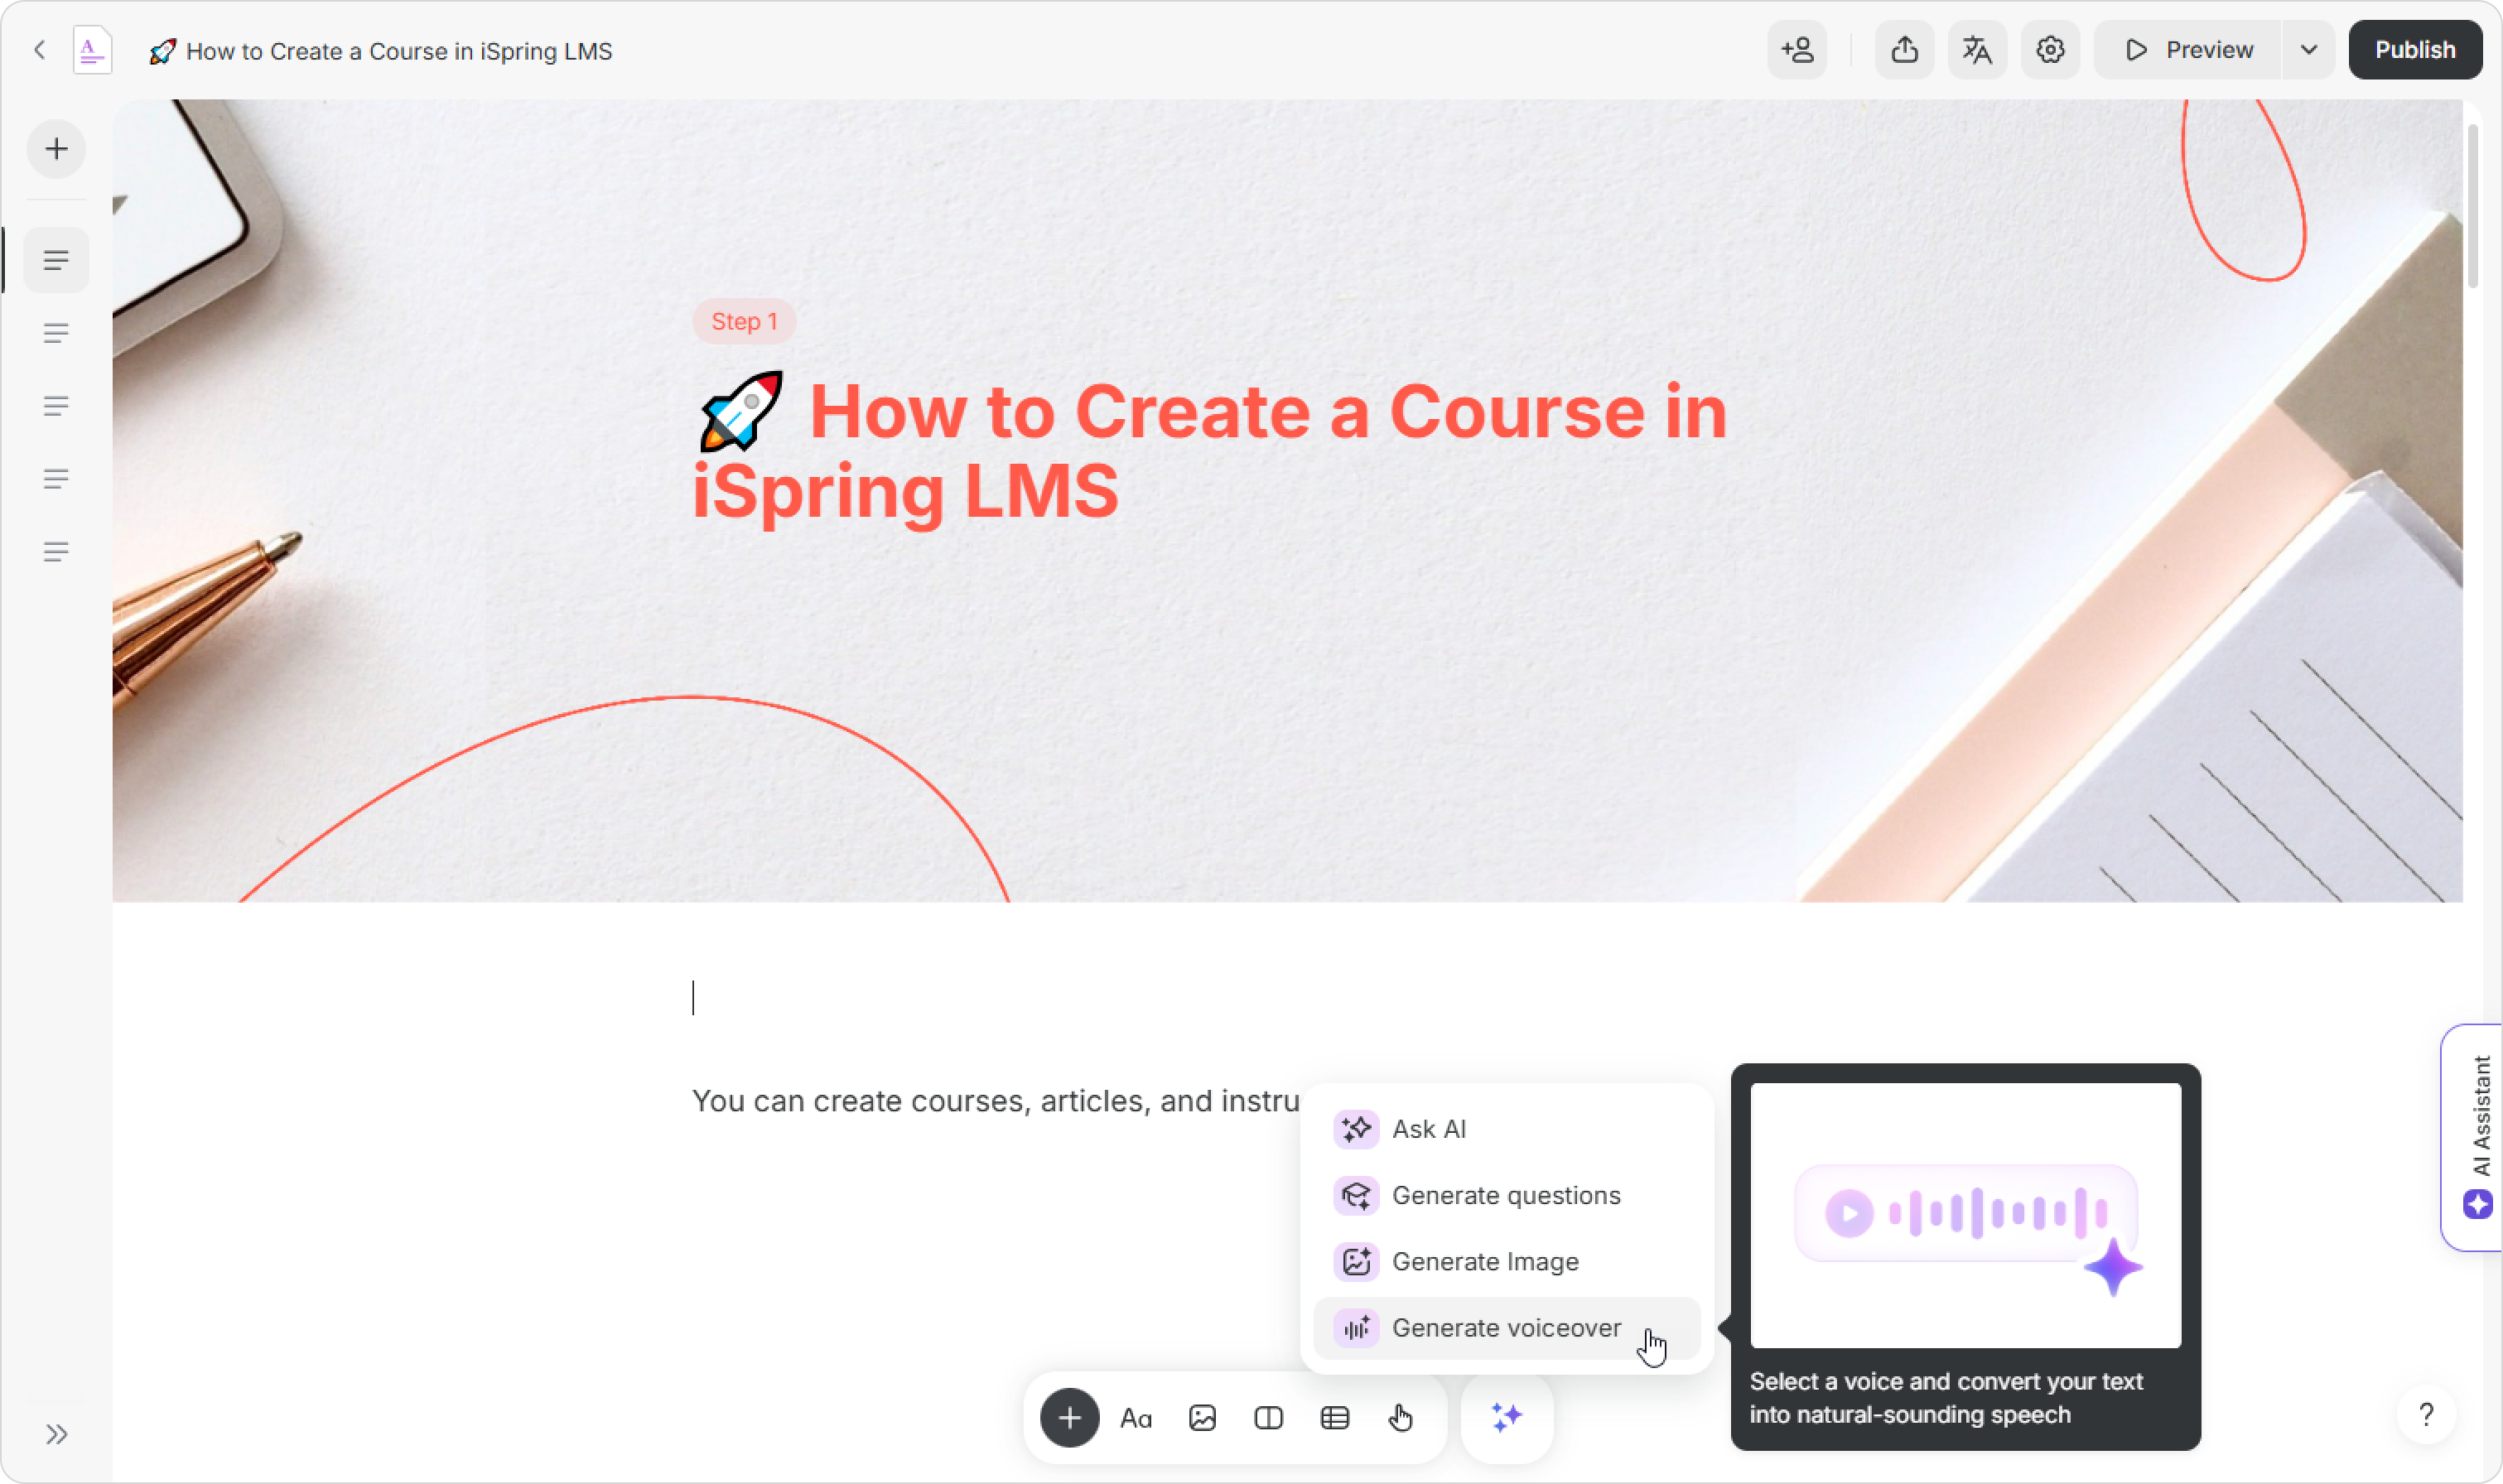
- Place the cursor where you want to add audio.
- Click on + > AI > Generate voiceover or open AI tools > Generate voiceover.
- Paste your text.
To emphasize a word in voiceover, try writing it in ALL CAPS.
To place stress on a specific syllable, put the cursor after the stressed vowel and press Alt+769. The result may vary depending on the selected voice.
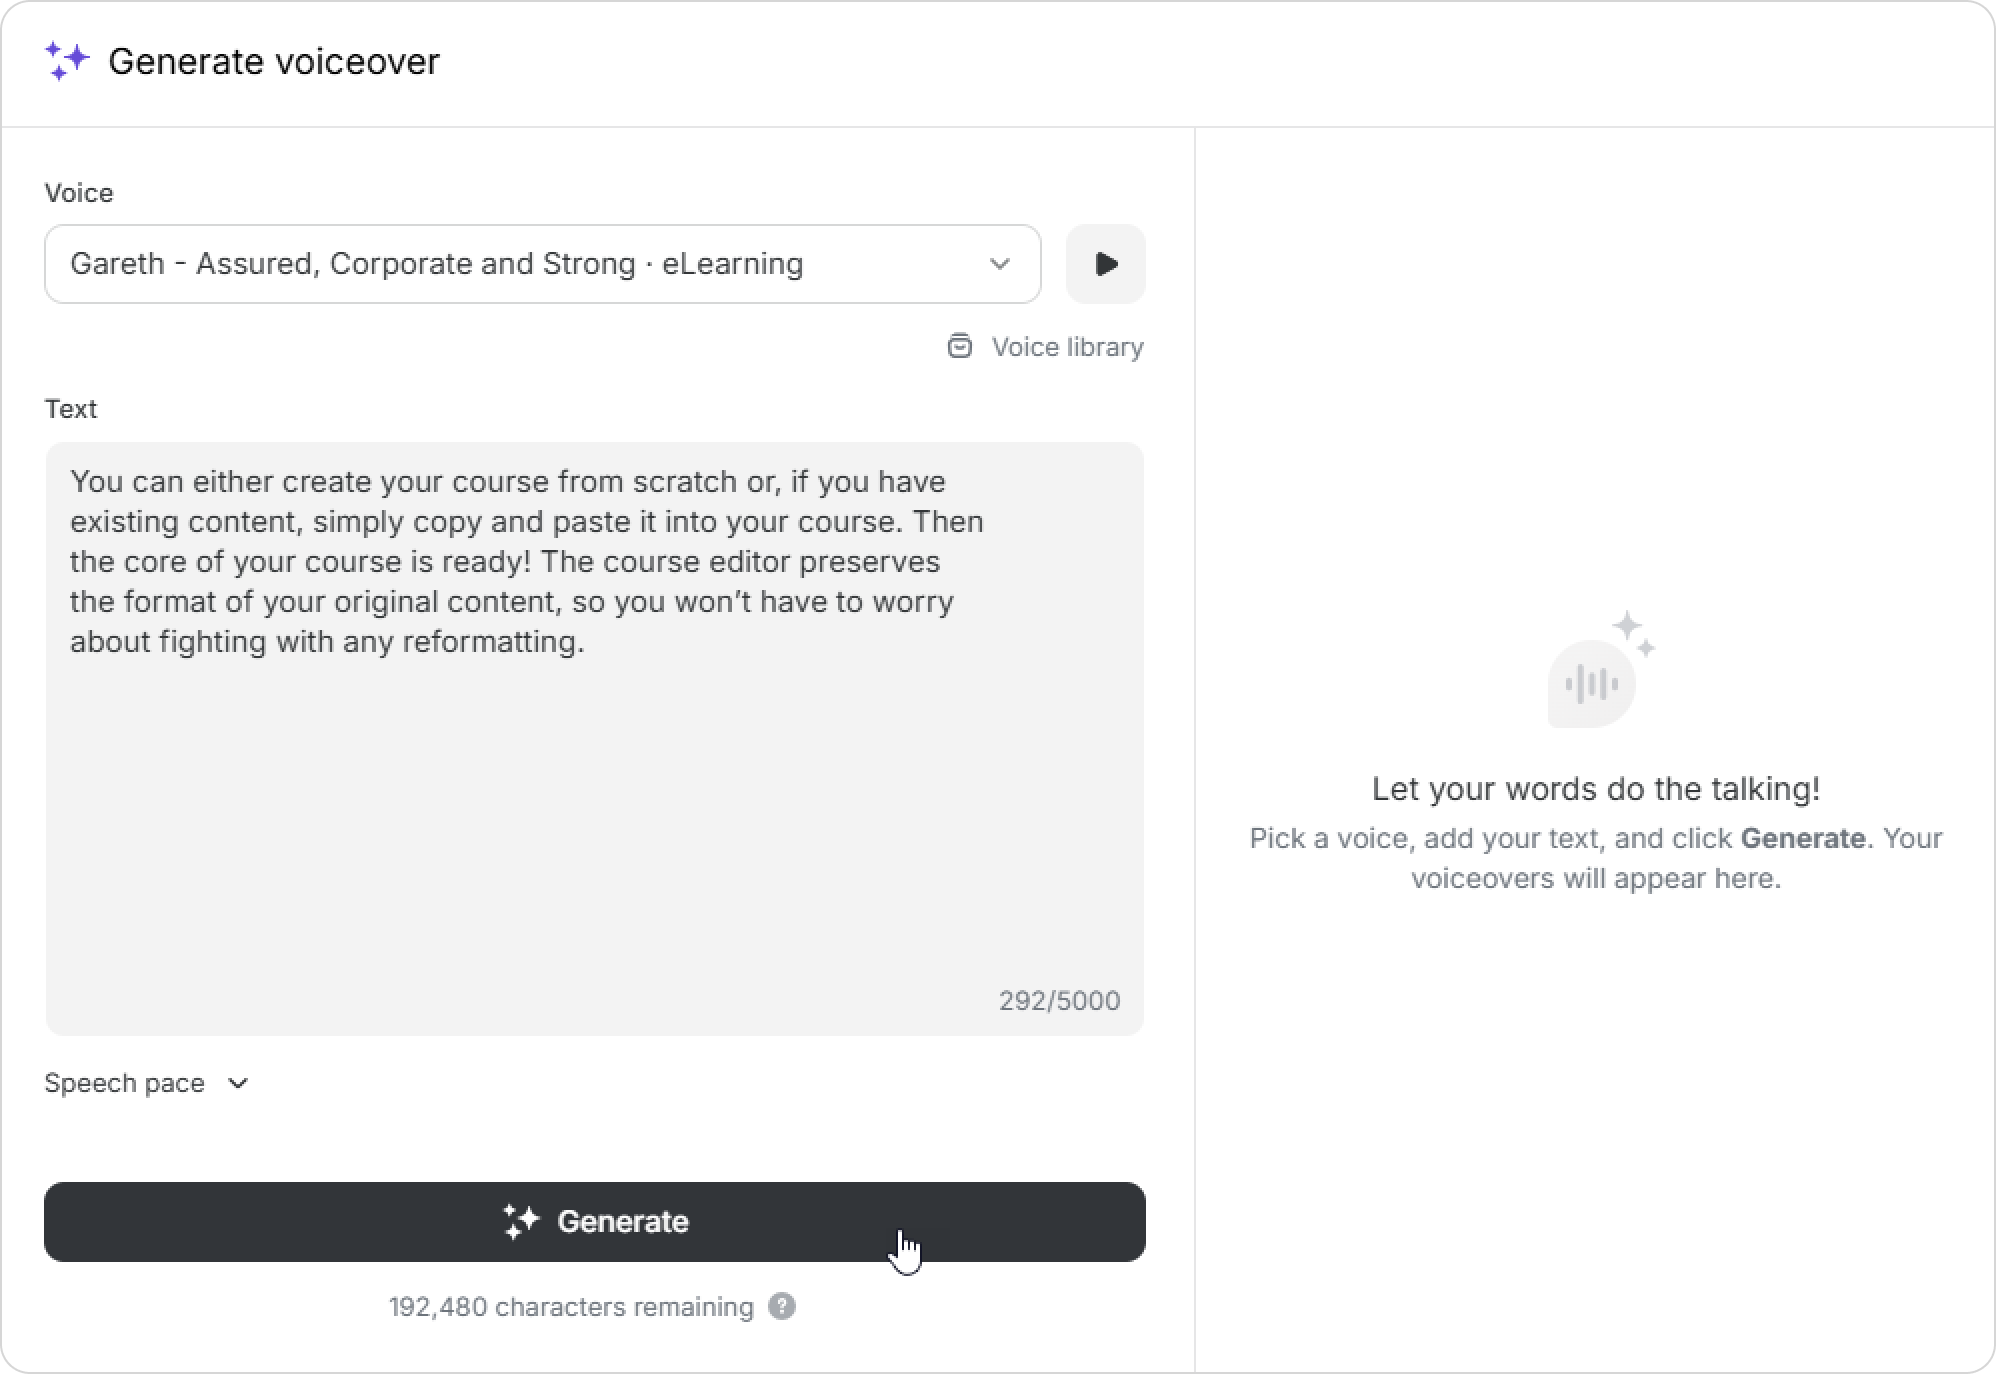
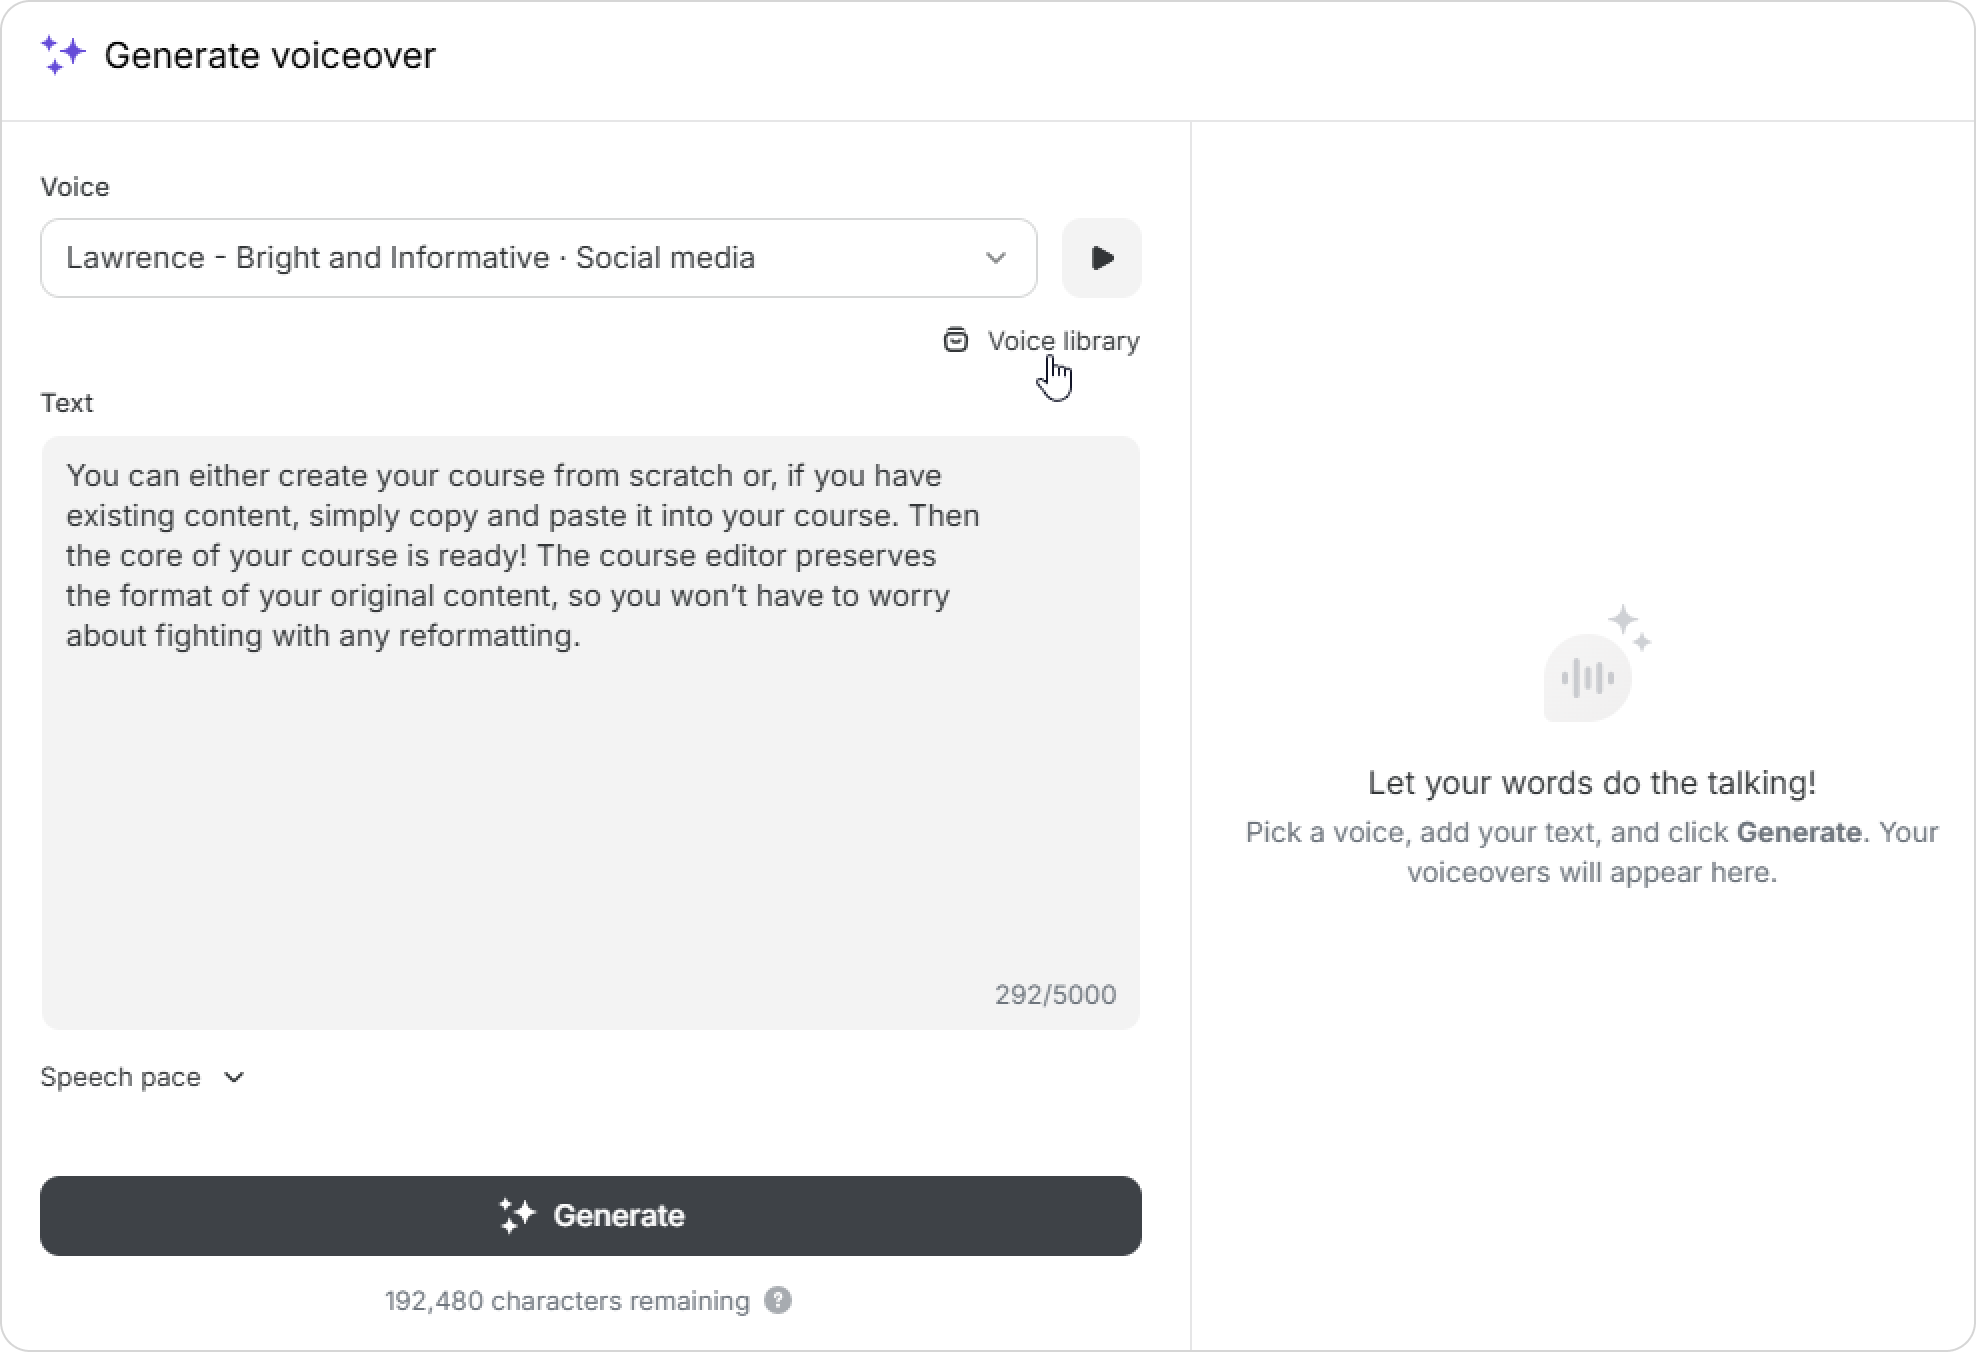
- Open the voice list and listen to samples using the player icon.
- Click on Generate.
- Listen to the result and rewind if needed.
To try another voice or update the text: Choose a different voice, then click on Generate. You can also edit the text and create the voiceover based on the updated version.
Each time you generate a voiceover, the number of available characters decreases.- To adjust the speed, move the slider and regenerate the audio.
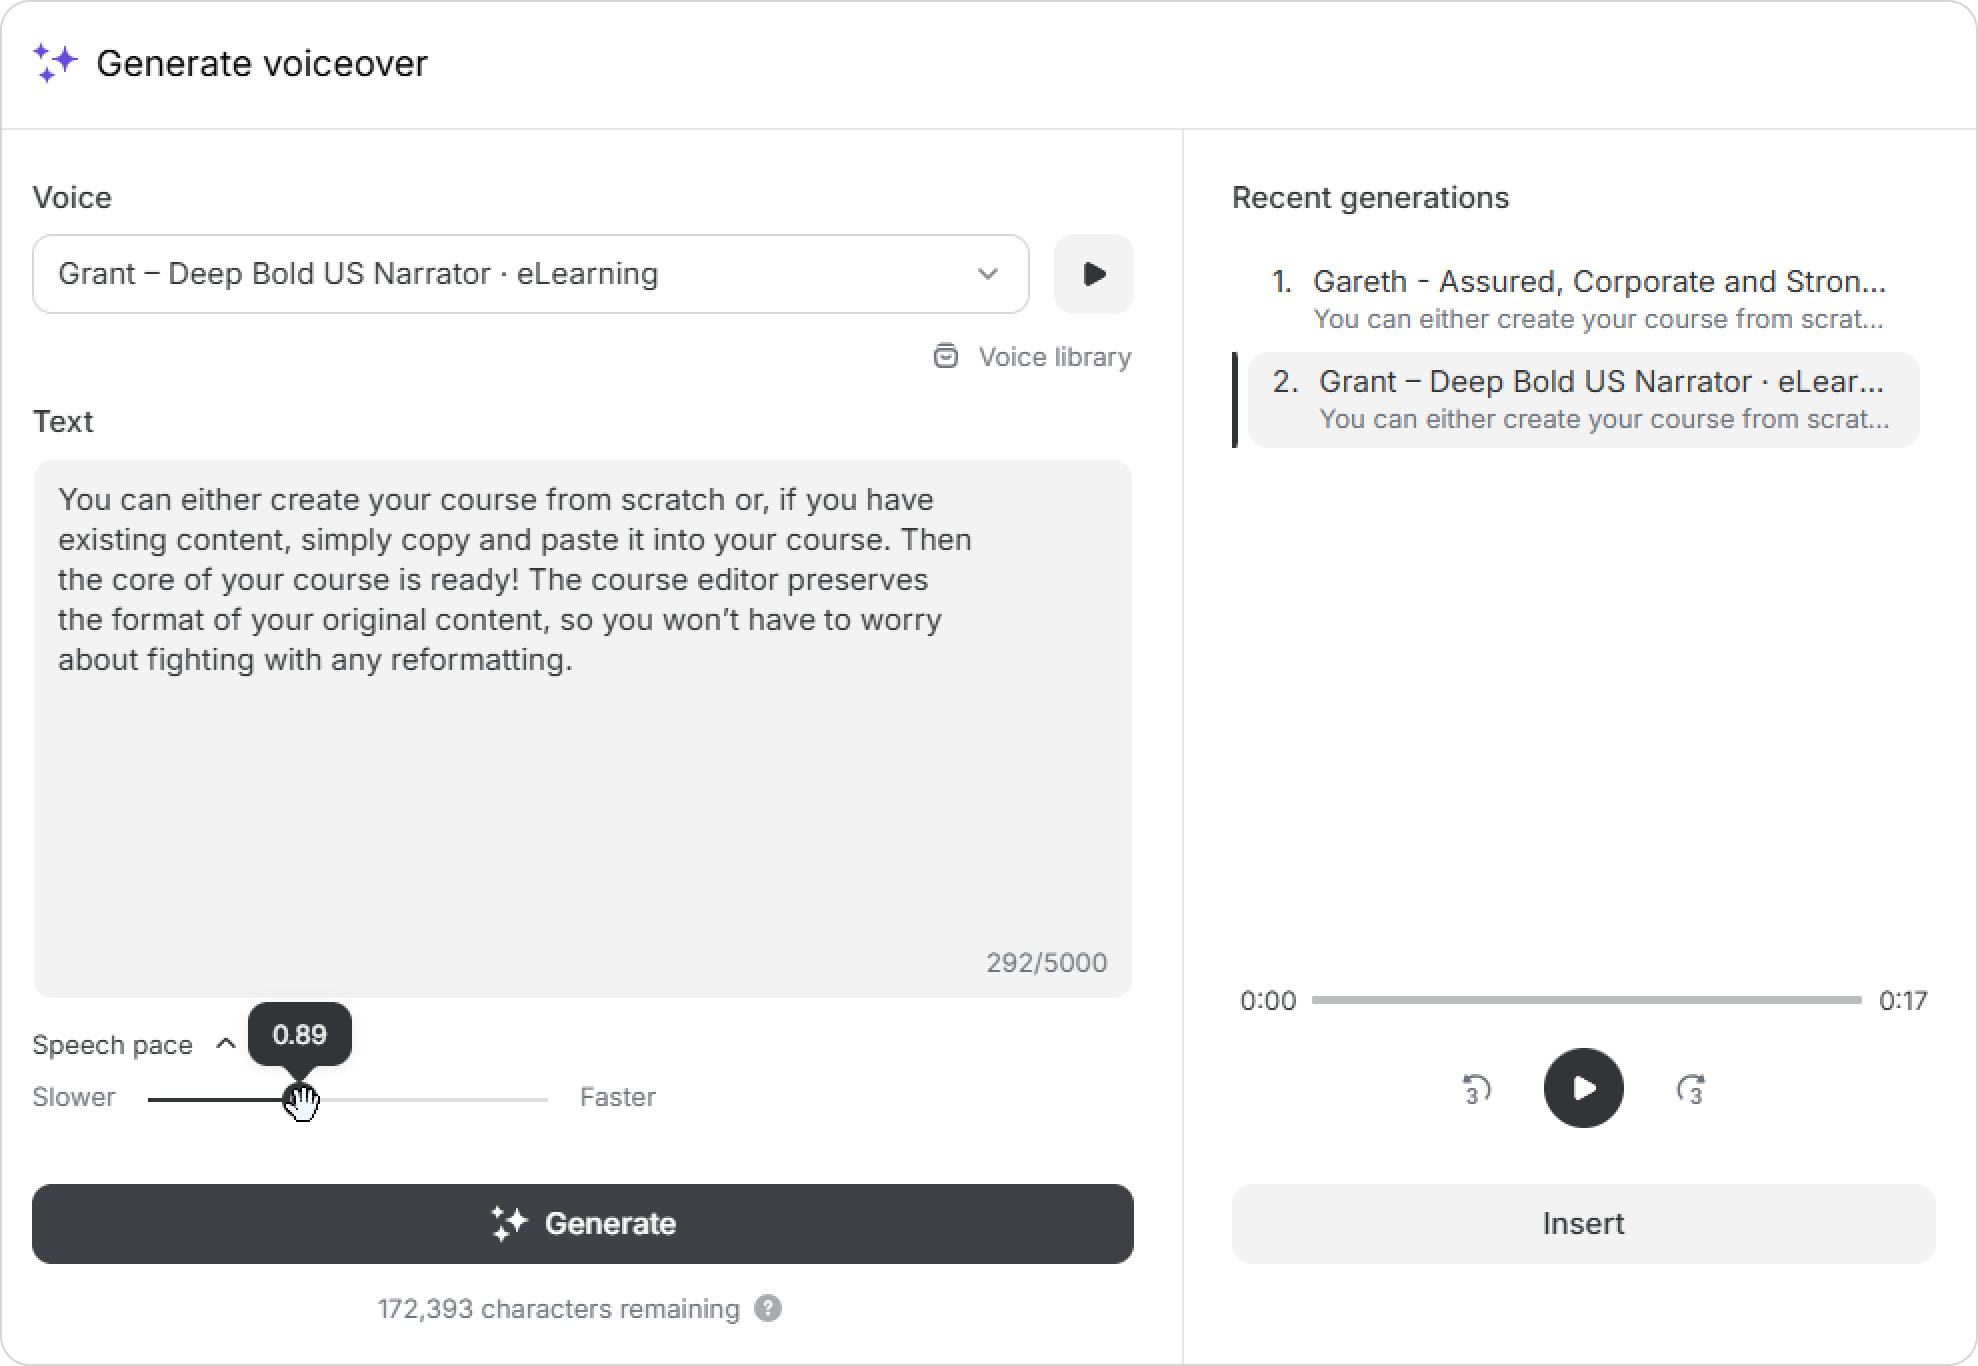
- Select the result and click on Insert.
Done! Your voiceover is ready.
You can add a title and description to the file. To do this, click on the voiceover and open its settings. You can also choose the style and color of the text.
How to edit a voiceover
- Click on the audio file and select Edit.
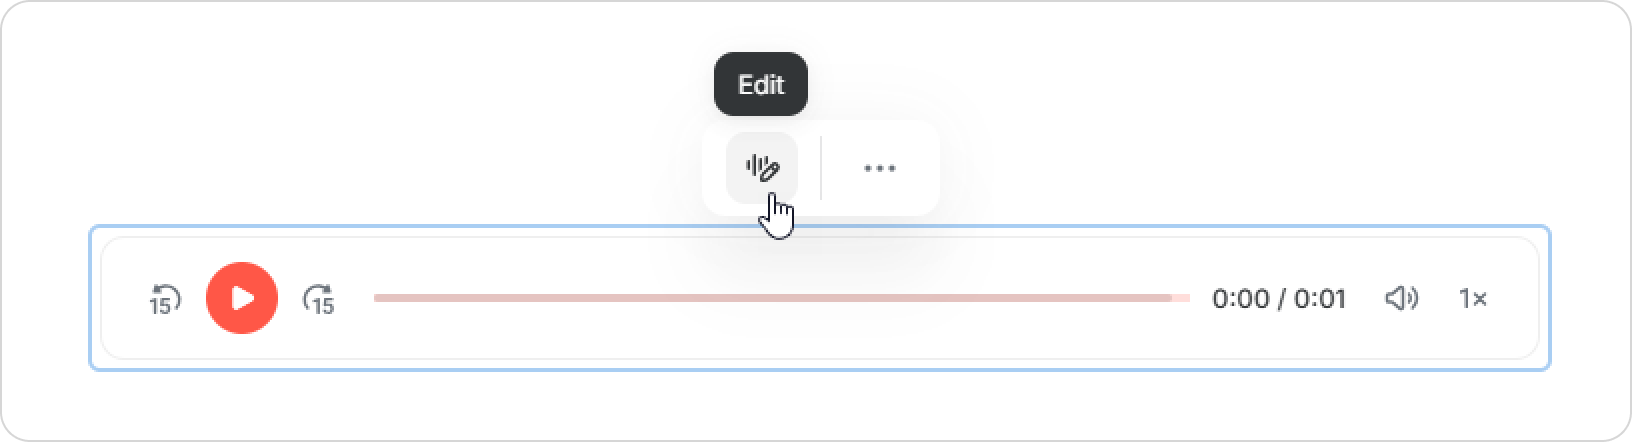
- Update the text or choose a different voice.
- Click on Insert.
How to use Recent and Recommended voices
If certain voices are used often, they appear at the top of the list for quick access.
The Recent section shows the voices that are being used in this scrollable course. If a team is working on the course together, the Recent list is shared across all team members.
ElevenLabs may remove voices from the library.
If this happens, the editor will show a warning that the voice is no longer available. New voiceover cannot be generated with this voice, but existing audio in the course will still work.
To find a suitable voice faster, try the Recommended section. It includes curated ElevenLabs voices that work well for most scenarios.

Voice library
To explore more options, open Voice library. You’ll find over 10,000 voices in different languages. Most names and descriptions are in English because the library is built on user-generated content. You can easily find the right voice or accent using filters.
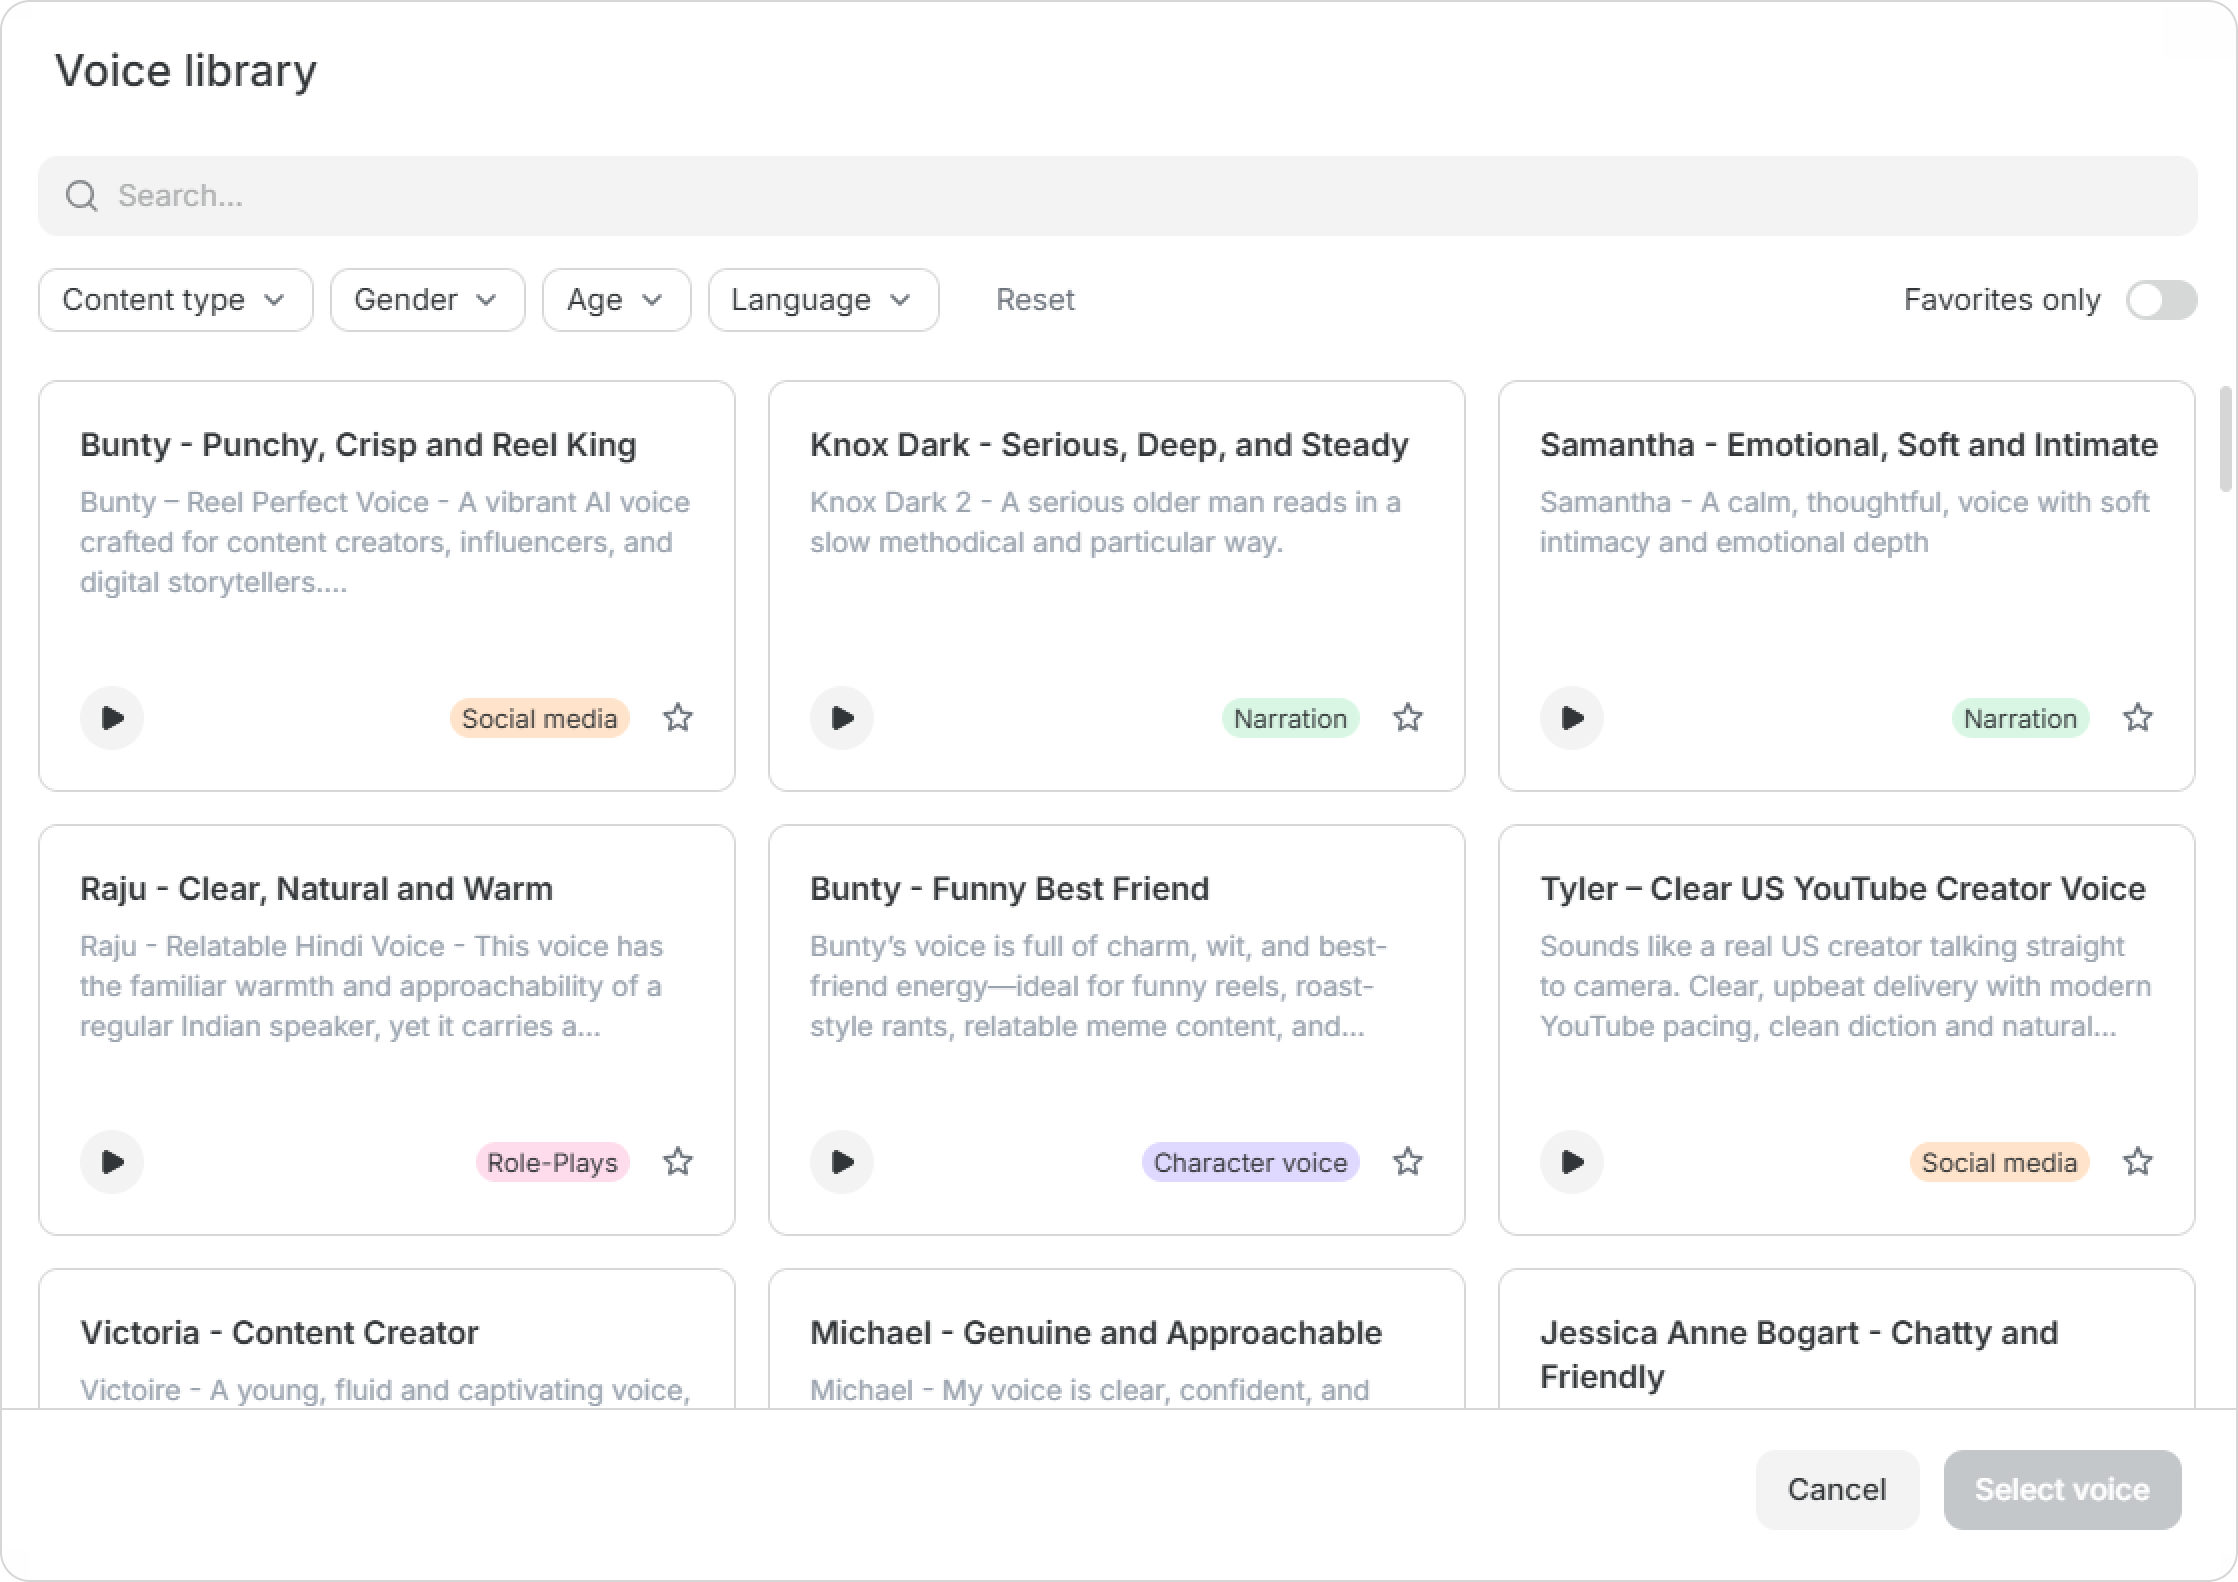
- Open the Generate voiceover menu.
- Click on Voice library.
- Filter voices by content type: eLearning, role-plays, narration, advertisement, entertainment, social media, or character voice.
You can use filters for gender, age, or language (including accents).
The language filter shows voices trained specifically for a particular language. These voices provide the most natural and accurate voiceover results.
If a language is not listed in the filter, voiceover can still work in that language, but the quality may vary depending on the selected voice.
- Preview voices with the player icon.
- Mark favorites with a star.
- Apply the Favorites only filter to find them later.
- Click on Select voice.
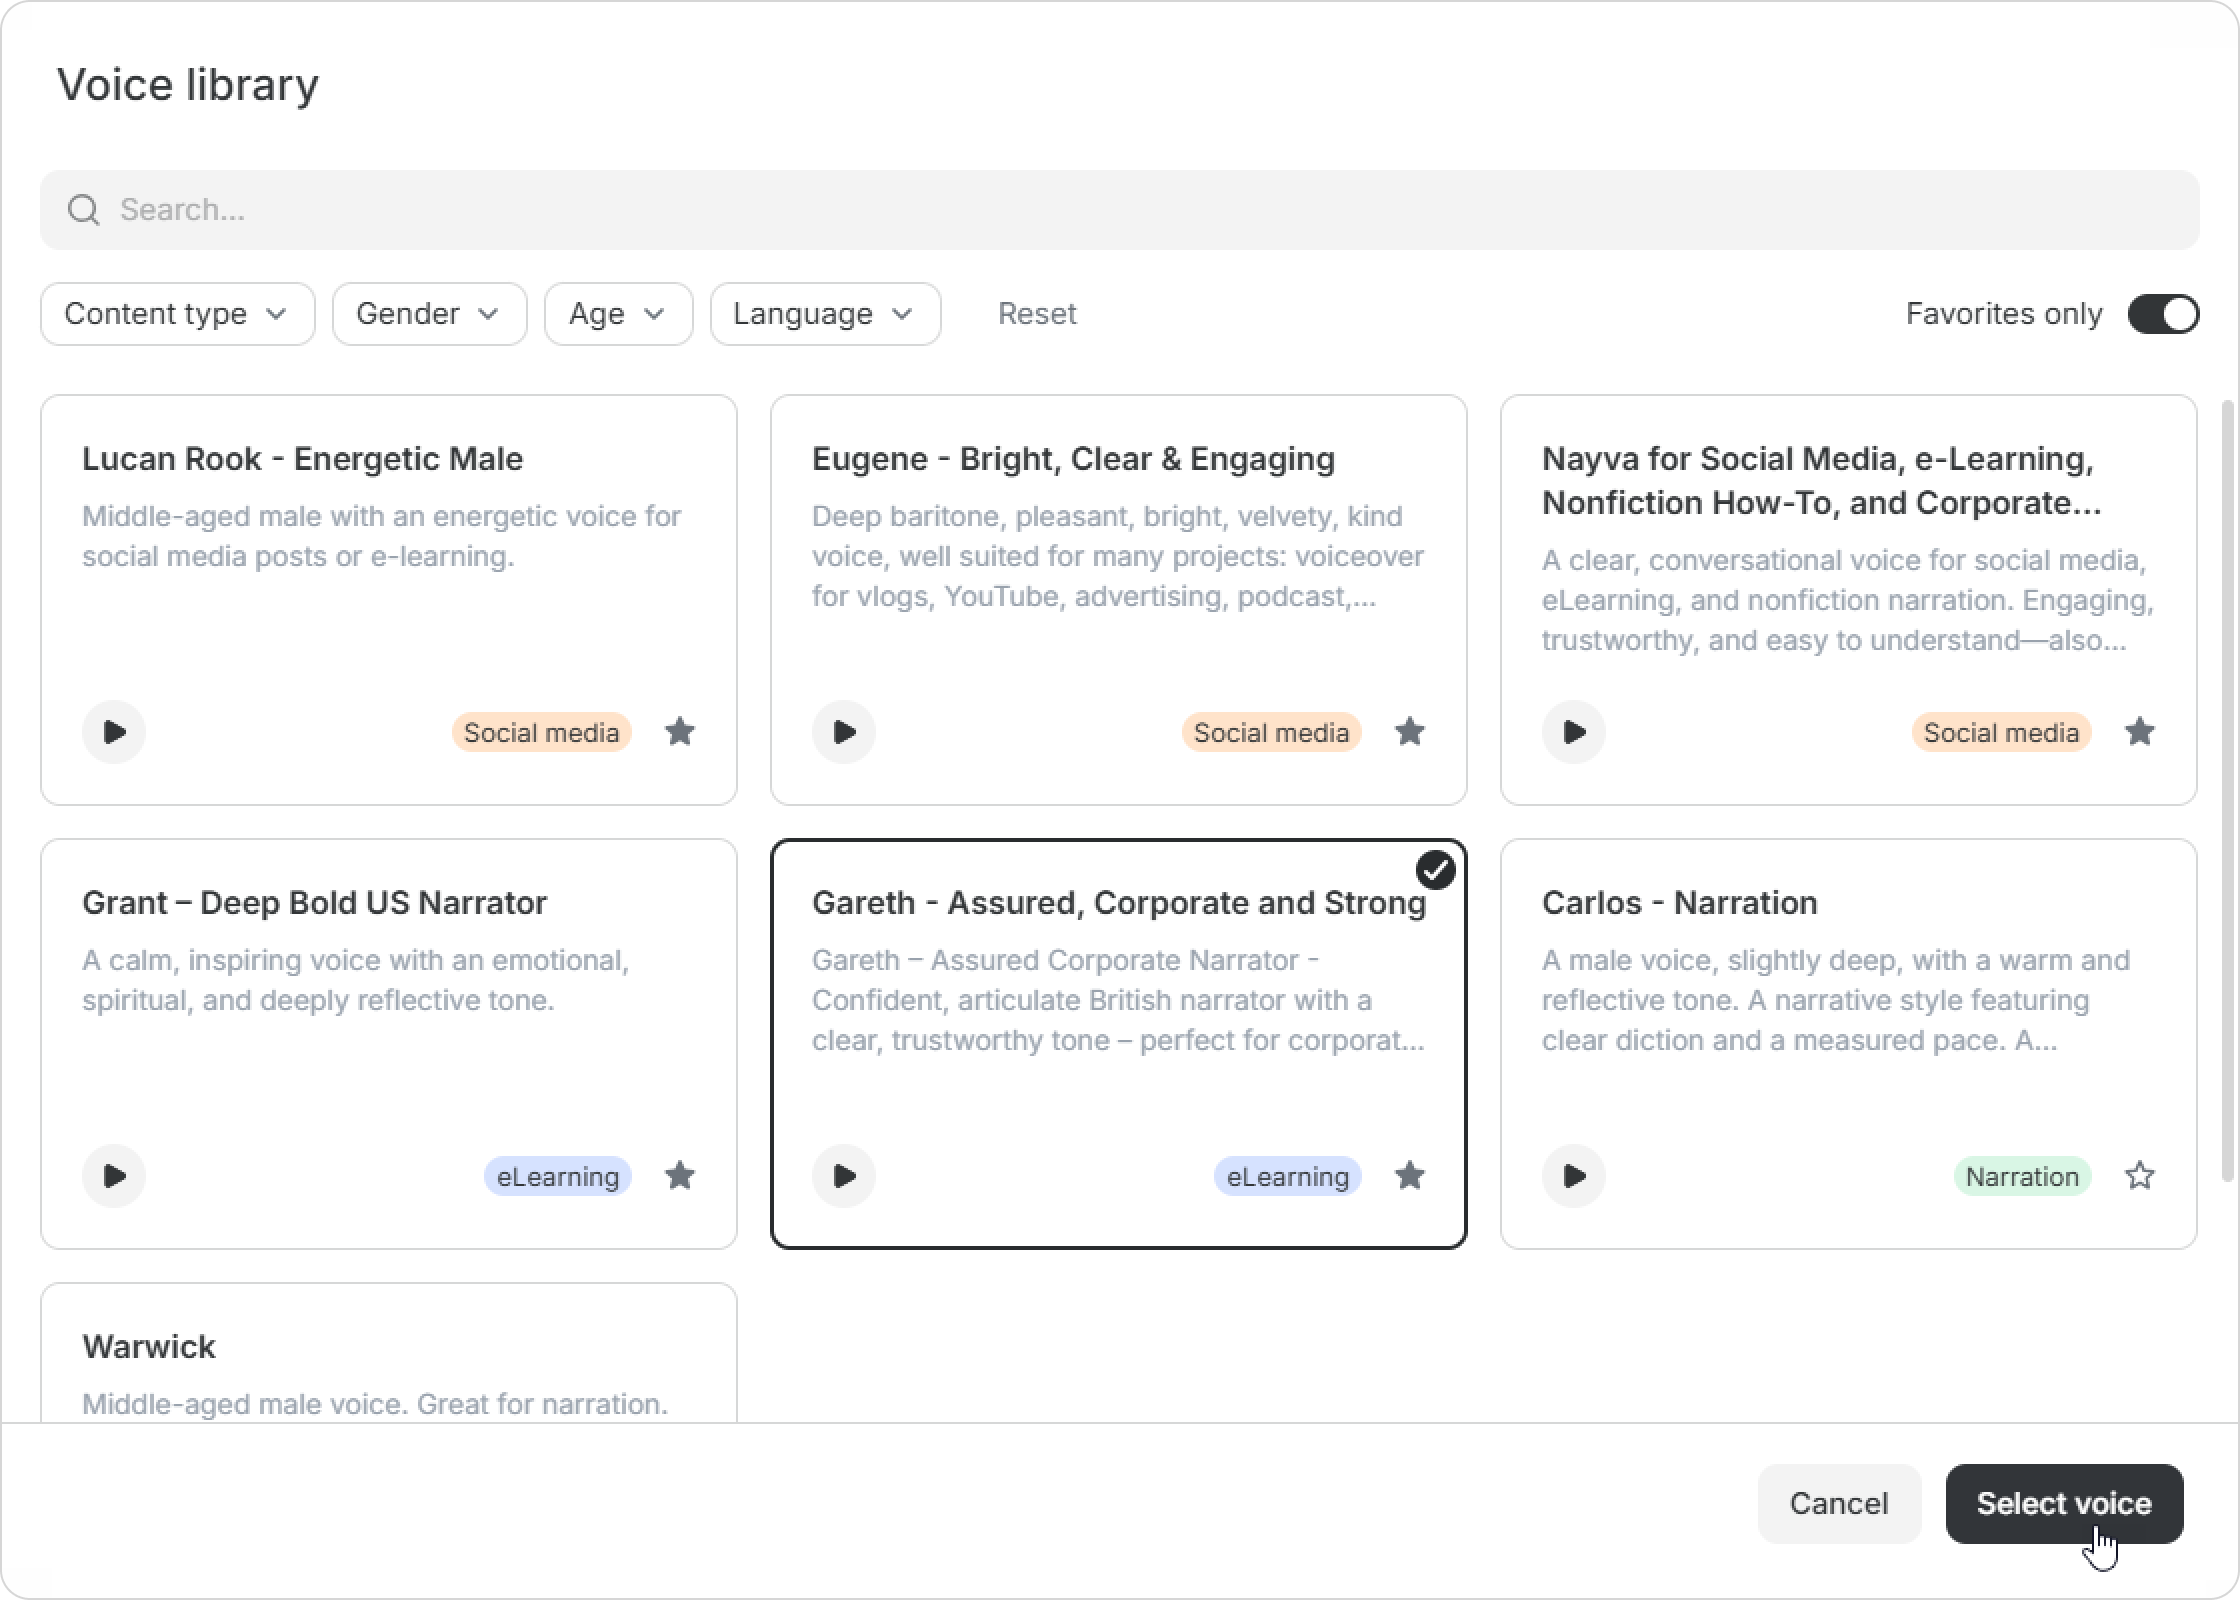
Done! You’re ready to generate voiceovers with your selected voice.